Network Server Installation
If you want to share system data between users, and would like data stored in one central location, you should establish a network setup in your organization. A network setup involves:
- A designated server.
- One or more additional workstations.
This topic only includes steps to install the server on a computer. However, a server-only install does not provide access to the ATX application as a typical tax preparer uses it, which requires a workstation installation. To install both a workstation and a server on the same machine, see Workstation and Server Installation. If you're unsure of your installation type, see What Install Type Do I Need?.
IMPORTANT! Before installing ATX, make sure your network server meets the System Requirements for a server, and that your network workstations meet requirements for stand-alone/single workstations. Setups that meet or exceed the recommended requirements will experience the best performance results.
Installing ATX on the Network Server
As a precaution against losing work in other programs, you should shut down all other applications on your computer before beginning your ATX installation.
To install and activate ATX on the network server:
IMPORTANT! After installing the ATX server, there will be no ATX 2015 icon on your desktop. This is because you are intending for this computer to be used ONLY as a server, and you do not intend to use the ATX application on this machine. If you also want to use this computer to open and use ATX, then you should follow installation directions in Workstation and Server Installation.
- Do one of the following:
- Install from DVD: Insert the DVD provided in your product shipment into the DVD-ROM drive. Refer to If ATX DVD Doesn't Start Automatically if necessary.
- Download from Web: ATX can be downloaded from the Customer Support Site. See Downloading ATX.
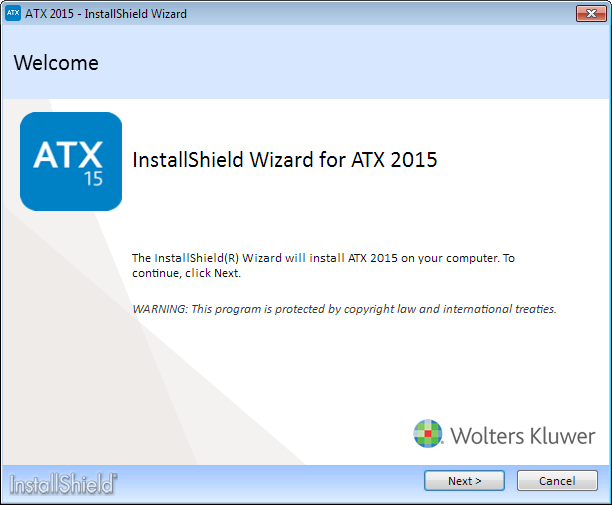
Installation: Welcome
- Click Next.
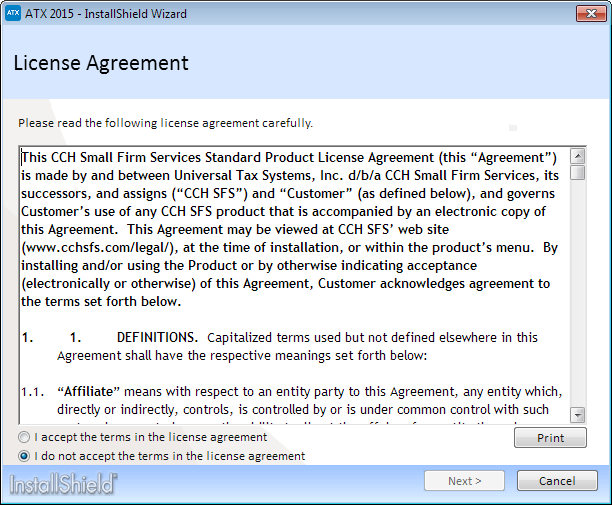
Installation: License Agreement
- Select the I accept the terms in the license agreement radio button to indicate that you have read and agree to the terms of the license agreement.
- Click Next.
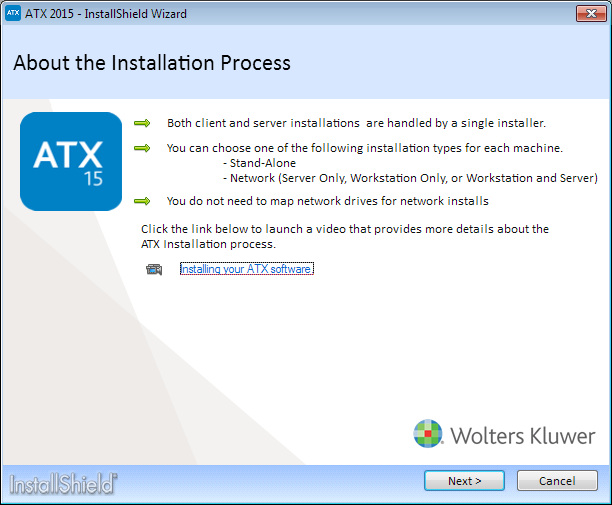
- Click Next.
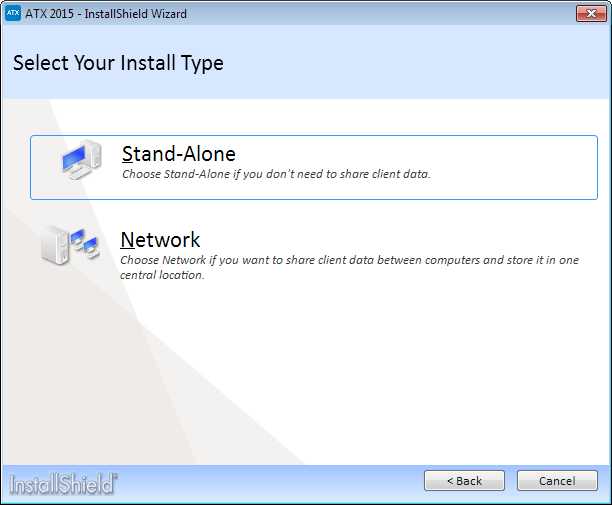
Installation: Select Your Install Type
- Select the Network option.
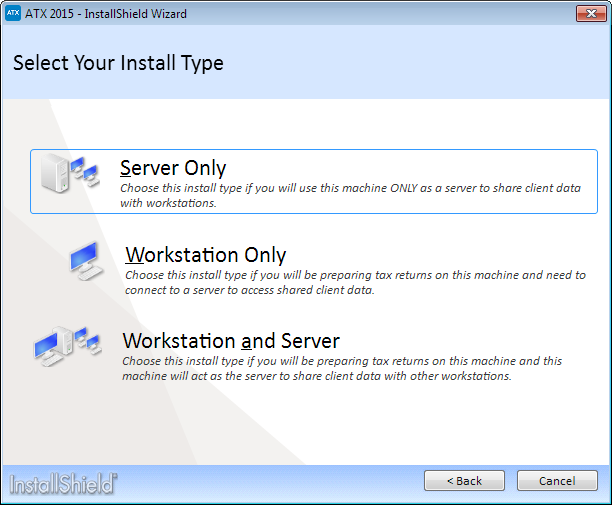
Installation: Select Your Install Type (Network)
- Click the Server Only option.
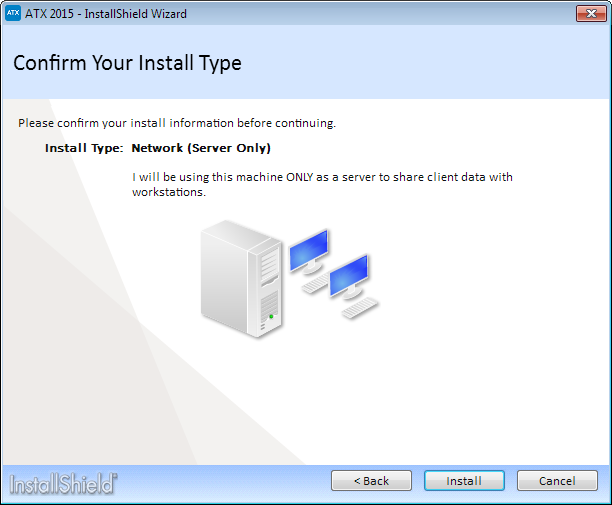
Installation: Confirm Your Install Type - Server Only
- Click Install.
Installation speed may vary depending on your operating system or Internet speed.
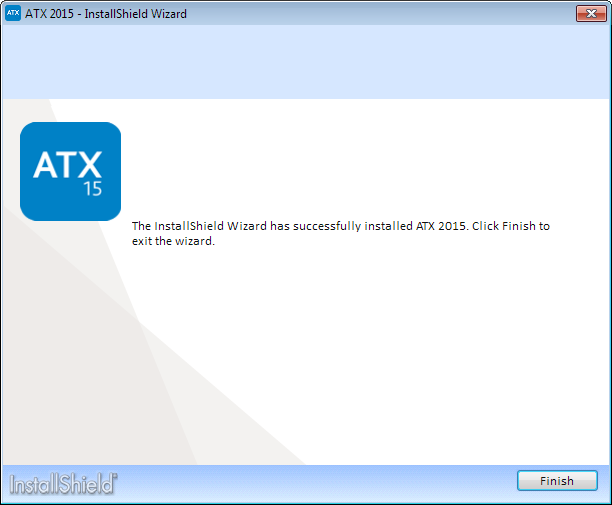
Installation Complete
- Click Finish.
This completes the Server only installation process. To install a workstation only, see Network Workstations Installation.
If you receive a Network Setup Not Complete message, click the Help link for Network Troubleshooting Tips.
See Also: